NVM Install
NVM Install For Windows
Prerequisites
Before installing NVM for Windows, you need to uninstall any existing Node.js versions, as they may conflict with Node.js versions managed by NVM.
Installation Steps
- Download and run the nvm-setup.exe installer
- Select the NVM installation path (e.g., C:\nvm)
- Select the Node.js installation path (e.g., C:\nodejs)
- Confirm the installation
After installation, open Command Prompt (CMD) and enter the nvm command to verify that the installation was successful. If successful, you will see NVM command help information.
Download the nvm-setup.exe installer package. Before installation, uninstall any previously installed Node.js environment to avoid conflicts (skip this step if you haven't installed Node.js before).
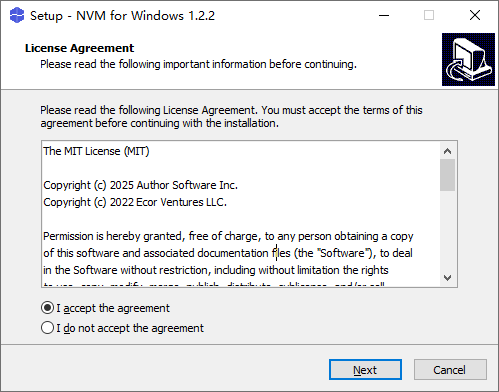
Select the first option to agree to the installation agreement.
Select the installation directory. It's recommended to install in the root directory of drive D, such as
D:\nvm. Avoid installing in directories with non-English characters, as this may cause unnecessary issues.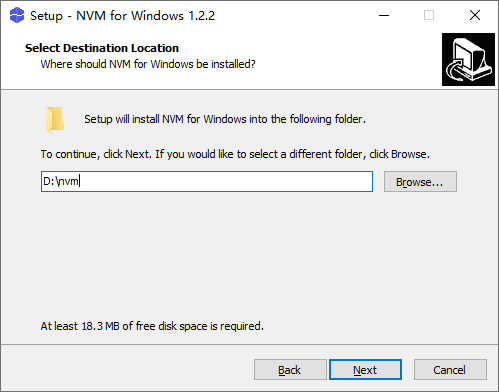
Select the directory for installing Node.js. It's recommended to place it under the nvm directory, such as D:\nvm\nodejs. All Node.js versions installed through NVM will be downloaded and installed here for unified management.

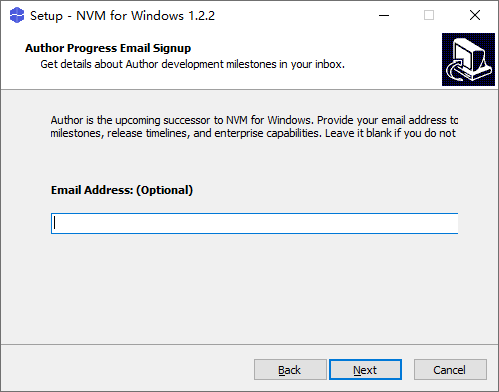
This is for email subscription notifications, which can be completely disabled.
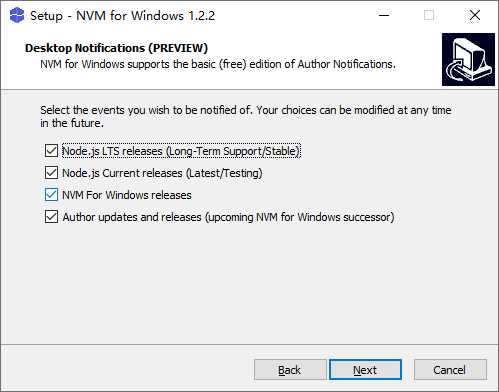
Email for subscription notifications, can be left blank.
NVM Install For Linux/MacOS
Using the Installation Script
Open a terminal and execute one of the following commands:
bash
curl -o- https://raw.githubusercontent.com/nvm-sh/nvm/v0.39.3/install.sh | bashOr:
bash
wget -qO- https://raw.githubusercontent.com/nvm-sh/nvm/v0.39.3/install.sh | bash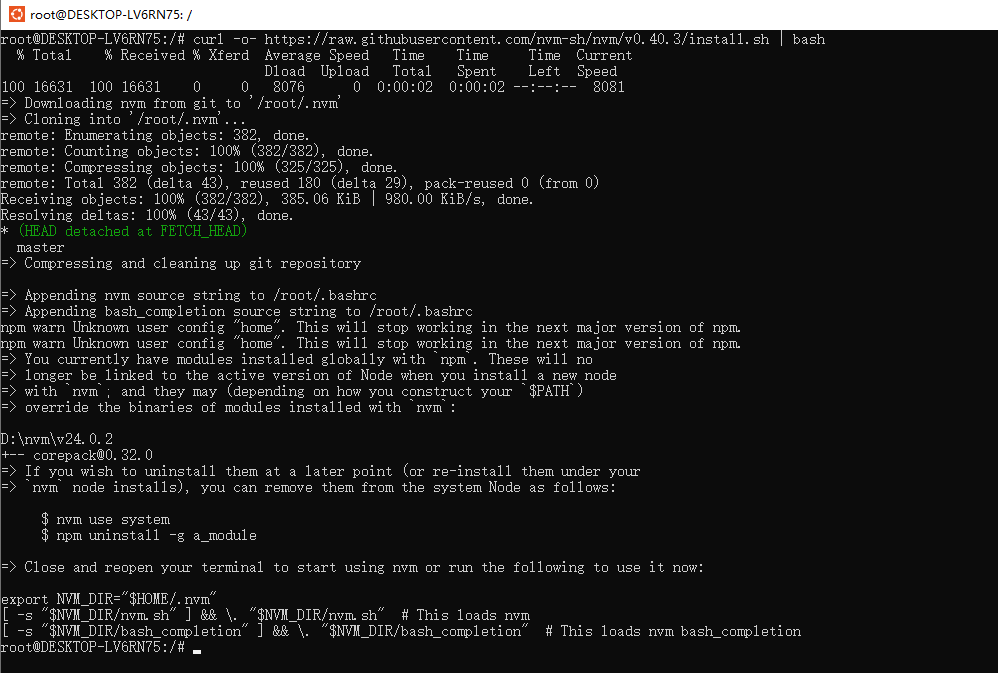
The installation script will clone the NVM repository to the ~/.nvm directory and attempt to add the following code snippet to the correct configuration file (~/.bash_profile, ~/.zshrc, ~/.profile, or ~/.bashrc).
bash
export NVM_DIR="$HOME/.nvm"
[ -s "$NVM_DIR/nvm.sh" ] && \. "$NVM_DIR/nvm.sh"  # Load NVM
[ -s "$NVM_DIR/bash_completion" ] && \. "$NVM_DIR/bash_completion"  # Load NVM bash completion
Note
On Linux, after running the installation script, if you get "nvm: command not found" or receive no feedback from the terminal after entering "command -v nvm", simply close the current terminal, open a new terminal, and try to verify again. Alternatively, you can run the following commands on the command line for different shells:
bash
# bash:
source ~/.bashrc

# zsh:
source ~/.zshrc

#ksh:
. ~/.profile
Manual Installation
If you prefer to install manually, follow these steps:
- Download the NVM source code archive:
bash
wget https://github.com/nvm-sh/nvm/archive/refs/tags/v0.39.3.tar.gz- Create the NVM directory and extract:
bash
mkdir -p ~/.nvm
tar -zxvf v0.39.3.tar.gz -C ~/.nvm- Configure environment variables by editing the
~/.bashrcfile:
bash
vim ~/.bashrc- Add the following at the end of the file:
bash
export NVM_DIR="$HOME/.nvm/nvm-0.39.3"
[ -s "$NVM_DIR/nvm.sh" ] && \. "$NVM_DIR/nvm.sh"  # Load NVM
[ -s "$NVM_DIR/bash_completion" ] && \. "$NVM_DIR/bash_completion" # Load NVM bash completion- Apply the configuration:
bash
source ~/.bashrcVerify Installation
After installation, close and reopen the terminal, or run source ~/.bashrc, then enter the following command to verify the installation:
bash
nvm --versionIf the NVM version number is displayed, the installation was successful.
Cannot Recognize in PowerShell (Windows)
By default, NVM commands can only be used in Command Prompt (CMD) and cannot be directly recognized in PowerShell. This is because PowerShell's execution policy restricts script execution.
Problem Description:
When entering the nvm command in PowerShell, it prompts "command not recognized".
Solution:
- Check the current execution policy:
In PowerShell, enter the following command to check the current user's execution policy:
bash
Get-ExecutionPolicy -List- Modify the execution policy: Change the current user's execution policy to
RemoteSignedto allow local scripts to run:
bash
Set-ExecutionPolicy -ExecutionPolicy RemoteSigned -Scope CurrentUser
```3. Verify if it's effective:
Reopen PowerShell and try running the `nvm` command to confirm if it works.

## Permission Issues Solution (MacOS)

When using Node.js, especially when installing global packages with npm, due to MacOS system security restrictions, installation permission issues or "Command not found" errors after installation are common.

Using NVM to manage Node.js can effectively solve these permission issues because Node.js installed by NVM is located in the user directory and does not require administrator privileges.